It's All About Color
"Then God said, 'Let there be light'; and there was light." Genesis 1:3
The first chapter of Genesis tells us that God created light. Through science we know that color is a direct function of light. The way light reflects or emits off an object creates color and God designed our eye to see the different colors.
The first chapter of Genesis tells us that God created light. Through science we know that color is a direct function of light. The way light reflects or emits off an object creates color and God designed our eye to see the different colors.
Edible Color Wheels
"Got Frosting!" by Cathy Gaul, Beck Middle School
Objectives:
In this lesson you will: explore color mixing; review primary, secondary, and intermediate (or tertiary colors) colors, as well as tints and shades; create a meaningful, edible, color wheel; photograph your work; and work cooperatively to complete the assignment
Note: Each group will have white, red, blue, and yellow icing; cookies in zip lock baggies. If you are allergic to Red food dye please let the teacher know!
Materials:
color wheel handouts; Vanilla wafers (13 for each group) in baggies; white icing (3 cans) that has been colored with red, blue, and yellow food coloring; save some reserve white icing for tints; plastic knives or popcycle sticks; small paper plates; sauce cups with lids (or solo cups); paper towels; digital camera; printer
NOTE: You need more yellow than any of the other colors.
Procedures:
- View the Color Wheel PowerPoint explaining various color families and where they are located on the color wheel
Watch these videos Primary Colors and The Painter's Color Wheel with Clones!
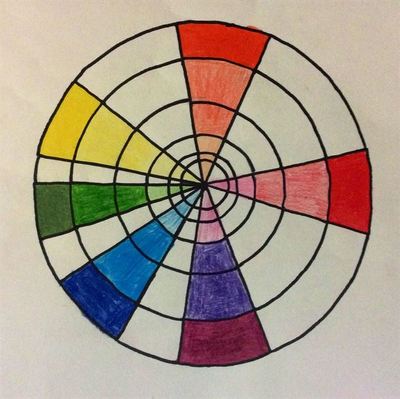
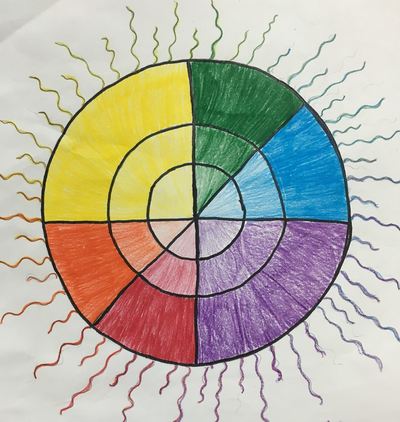
- Fill in the colors on this Color Wheel
- Divide into groups of 4-6 students. Each group will receive a diagram of a blank color wheel, 13 vanilla wafer cookies in a bag, and cups of Red, Yellow, Blue, and white frosting.
- As you work take photographs to document the process.
- Step 1: Frost 1 cookie with each of the 3 available colors and place them at the points of one of the Triangles (It really doesn't matter which color goes where - just place future colors accordingly) These are the 3 Primary colors. They are used to make all the other colors. You will be able to eat your project, but only after you complete the full Color Wheel and a picture is taken. Your work must be approved by the teacher before you eat it!
- Step 2: What are the 3 Secondary Colors? Mix equal amounts of 2 Primary Colors and frost 3 more cookies, placing them on the points of the other triangle, in between the 2 colors that you used to mix them.
- Step 3: What are the 6 Intermediate or Tertiary Colors? How do you create these colors? These frosted cookies are placed in between the Primary and Secondary Color used to mix each Intermediate color. In order to know exactly how to mix the intermediate colors you may have to experiment with the colors you have made. The amount of each color needed will depend solely on the intensity of your primary colors.
- Step 4: Mix all 3 Primary Colors together to frost the 13th cookie. It is placed in the center of the Color Wheel - for Neutrals. After a picture is taken and your work is approved by the teacher you may eat your Color Wheel!
- Step 5: With any left over cookies and icing try mixing tints - try mixing compliments to get neutrals. Save one color wheel intact - place tints to the outside of each color and mixed complimentary to the inside. Take a photograph of extended color wheel - then eat that too.
Middle School
- VA.Cr1
- VA.Cr2
- VA.Cr3
- VA.Re.7
- VA.Re.8
- VA.Cn.1
- VA.912.C.2.1
- VA.912.F.3.4
- VA.912.S.1.4
- VA.912.S.2.2
Radial Color Wheel
Objectives:
You will explore, experiment, and investigate color. You will learn the basic rules of color relationships by creating a color wheel.
Materials:
Posterboard or heavy watercolor paper, compasses and protractors, pencils, erasers, rulers, acrylic, tempera, watercolor, colored pencils, markers, brushes, water, water containers, paper plates, notecards
Vocabulary:
Procedure (Read through all instructions before your start):
You will explore, experiment, and investigate color. You will learn the basic rules of color relationships by creating a color wheel.
Materials:
Posterboard or heavy watercolor paper, compasses and protractors, pencils, erasers, rulers, acrylic, tempera, watercolor, colored pencils, markers, brushes, water, water containers, paper plates, notecards
Vocabulary:
- Color theory - practical guidance to color mixing and the visual effects of a specific color combination
- hue - the actual color of something.
- tint - a color to which white has been added to make it lighter.
- shade - a hue or color with black (or any other dark color) mixed into it.
Procedure (Read through all instructions before your start):
- Watch this video.
- View the Color and Emotions document
- Watch the Videos How to Use a Compass and Concentric Circles.
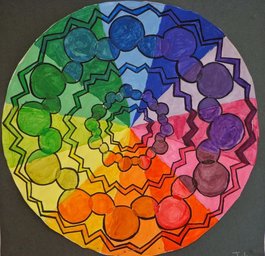
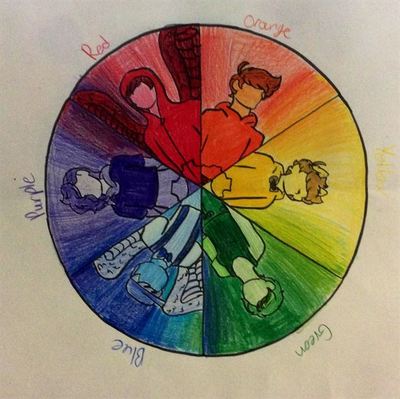
- For this project you will be finding the center of the canvas and creating concentric circles. Divide the circles into 12 equal sections. Draw in free-form shapes, objects, etc. for each section (think about the examples you viewed in the color wheel PowerPoint).
- Remember the various color families and where they go. (Review the Color Wheel Presentation if you need to.) You may lightly write which color goes where.
- Use newsprint paper to sketch out ideas.
- Break into groups of 2 or 3 and critique each others ideas and make adjustments if needed.
- Get posterboard or heavy watercolor paper, compasses, protractors, pencils, erasers, rulers, etc. Transfer your best sketch.
- Fill in the primary colors in the specified area. For each primary color fill in one section of the concentric circle area with a tint of the color, one section with the "True" hue of the color, and one section with a shade of the color. Repeat the process with the secondary and intermediate/tertiary colors until the wheel is complete.
- Note: a tint can be made by adding a small amount of white; a shade can be made by adding a small amount of black or a small amount of the darker color. Using black may sometimes dull the color.
- On a notecard write 3 sentences describing your color wheel.
- Complete the Color Theory Quiz
Color Wheel Rubric:
Standards:
Middle School
Middle School
- VA.Cr1
- VA.Cr2
- VA.Cr3
- VA.Re.7
- VA.Re.8
- VA.Cn.1
- ELD.K12.ELL.SI.1
- LAFS.910.WHST.3.9
- VA.912.C.2.1
- VA.912.F.1.3
- VA.912.F.3.4
- VA.912.S.1.4
- VA.912.S.2.2
- VA.912.S.2.6


