Seeing the World Around Us
Never be lazy, but work hard and serve the Lord enthusiastically.
Romans 12: 11
To be an artist, one must be willing to put in the time & energy to develop and refine their skills. Though "natural" talent helps, there are no short cuts in life or art. During these lessons you will learn new techniques and skills. Some will come easy, some will require hard work. Be patient!
Lesson 1: Observational Drawing
Objectives:
In this lesson you will explore, investigate, and experiment with training their eye to see shapes without seeing objects.
Materials:
paper, pencil, eraser, line drawing handout
Process:
- Do the Vase/Faces exercise (click on the button below)
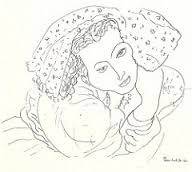
- For this step you will be drawing upside down. Drawing upside down creates a shift from left to right brain activity. It helps you learn to see lines in relation to each other, rather than seeing preconceived shapes. It helps improve your observational skills. You will need a handout of the line drawing by Picasso called, Portrait of Igor Stravinsky.
- Place the line drawing handout upside down in front of you. Copy it just as you see it. Do not turn it around until you are finished. Observe shapes, lines and their relationship rather than naming objects and features.
- After completing your upside down drawing, compare it to the original. Look at how the lines, shapes, and spaces relate to each other. Is your drawing similar to the original? If you tapped into your right brain mode, you will be pleasantly surprised. Sign and date your drawing. Turn it in for a grade.
Standards:
Middle School
VA:Cr1.2
VA:Cr2.1
High School
VA.912.F.3.4
VA.912.0.3.1
VA.912.S.1.4
VA.912.S.3.10
VA:Cr1.2
VA:Cr2.1
High School
VA.912.F.3.4
VA.912.0.3.1
VA.912.S.1.4
VA.912.S.3.10
Lesson 2: Contour Drawing
"One way to practice observing an object you want to draw is to make a contour drawing. This type of drawing teaches you to spend most of your time looking at the shape and form of an object rather than at your paper." Kincade.
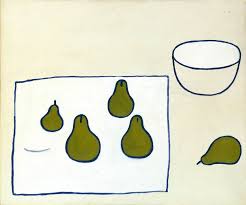
Contour drawing requires concentration and develops your hand-eye coordination. Take your time. Do not rush. Do not worry about making mistakes. Here are examples of contour drawings by Andy Warhol, Matisse, & William Scott.

Watch this video
Objectives:
In this lesson you will experiment and explore contour drawing.
Materials:
pen, paper, pencil, erasers, sharpies, mirrors, small objects from home
Process:
- gather a few small objects (keys, paintbrushes, feathers, coins, etc.)
- hold each object in front of you, carefully study them - look at every bend & curve, focusing on what you see rather than what you think you see
- create a series of at least 5 contour drawings from the objects
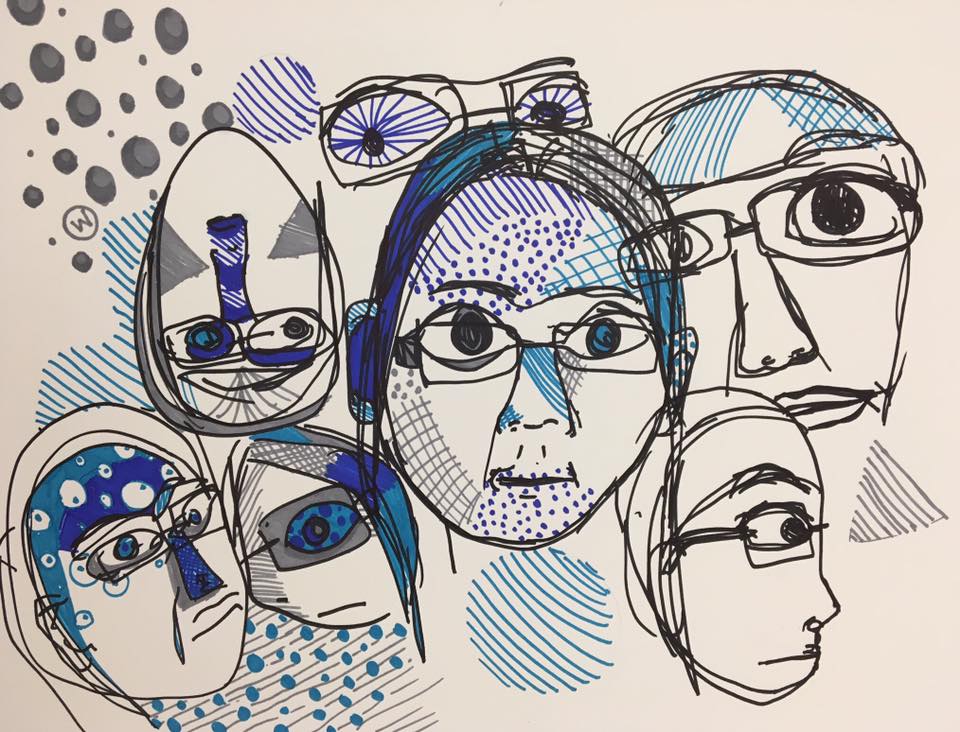
- create one picture that includes 5 or more blind and modified contour drawings in sharpie (use a mirror and include a self portrait); use 3 colors; show overlapping lines; include variations in line and repetition of line. Below is an example:
Standards:
Middle School
- VA:Cr2.1
- VA:Cr3.1
- VA.912.C.2.1
- VA.912.C.3.1
- VA.912.F.3.4
- VA.912.0.1.1
- VA.912.S.1.4
- VA.912.S.2.2
Lesson 3: Gesture drawing
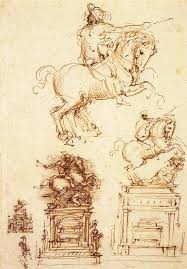
Gesture drawing is a quick sketch with no detail. It shows the movement of a form. These are examples of gesture drawings.

Watch this video
Objectives:
In this lesson you will experiment and explore gesture drawing.
Materials:
pen, paper, pencil, erasers, body forms
Process:
- divide into groups of 3 or 4, shape one of the body forms to show movement and place it on the table
- create a series of at least 5 gesture drawings of the body form in different poses
- within your group discuss how different each drawing looks
- on a notecard write a definition for contour & gesture drawing
Standards:
Middle School
- VA:Cr2.1
- VA:Cr3.1
- VA.912.C.2.1
- VA.912.C.3.1
- VA.912.F.3.4
- VA.912.0.1.1
- VA.912.S.1.4
- VA.912.S.2.2
Rubric for Contour & Gesture Drawing
Lesson 4 - Outdoor Drawing
During this lesson we will be exploring urban sketching. What is Urban Sketching? Watch the video.
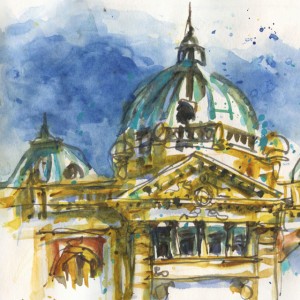
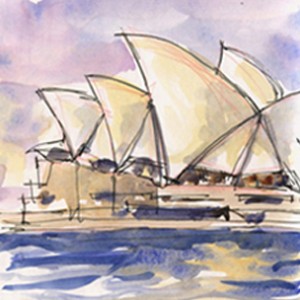
Liz Steel is an urban sketcher. These are a few of her sketches.

Adebanji Alade is an urban sketcher. Watch the video about him.
What unique characteristics do you see the artists using? How do the artists begin their work? What steps does they take as they work?
Objectives:
During this lesson you will explore urban sketching and create a collection of sketches.
Materials:
clipboard, paper, pens, watercolor paint & brushes
Process:
- For the next few classes you will be drawing outside. Concentrate on sketching what you see. Don’t worry what other people think. If you don’t like the way it looks, try something different. Just spend the time sketching what you see.
- Once you have spent some time sketching, you may want to add watercolor.
- 10 minutes before class ends, you will collect your supplies and gather to discuss where you got your ideas.
Standards:
Middle School
- VA:Cr2.1
- Va:Re9.1
- VA.912.C.2.4
- VA.912.F.1.3
- VA.912.F.2.3
- VA.912.S.1.3
- VA.912.S.2.2
- VA.912.S.3.10
